|
|
|
|
Your system or database administrator may need to add these menu items to side menus. For more information, see “Adding Electronic Payment Processing Menu Items to Side Menus” in the Voyager Electronic Payment Processing User's Guide.
|
|
3
|
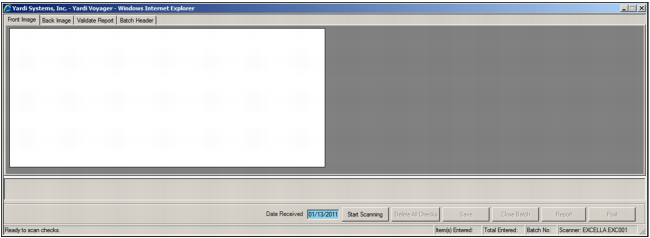
From the Voyager side menu, select Receivables > Electronic Payments > CHECKscan > Scan Checks. The check scanning screen appears.
|
|
a
|
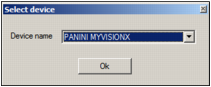
Click the status bar. The Select Device screen appears.
|
|
b
|
In the Device Name list, select the installed check scanner.
|
|
c
|
Click OK. The status bar displays the model of the installed check scanner.
|

|
5
|
If you are scanning dates that were received on the same date, type in the Date Received field the date on which the checks were received.
|
|
|
|
a
|
In the Date Received field, type the first date.
|
|
c
|
In the Date Received field, type the second date.
|
|
e
|
Click No.
|
|
7
|
|
|
|
9
|
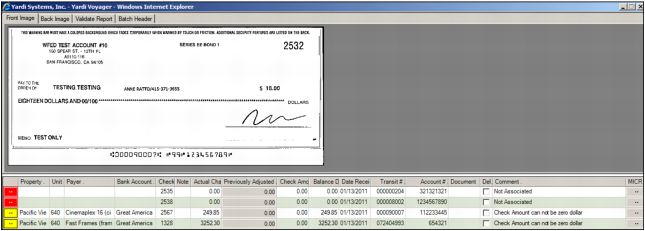
Click Save & Continue. The scanner scans the checks, CHECKscan adds the checks to the new check batch, and the scanned checks appear in the table at the bottom of the screen.
|
|
b
|
Click Start Scanning.
|
|
|
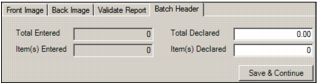
If you scan additional checks, you must update the Total Declared and Item(s) Declared fields on the Batch Header tab before you can post the batch.
|